Rear lens caps · STL / 3MF
Canon EF rear lens cap to 3D print
A twist-on rear cap for Canon EF / EF-S lenses that you print yourself. It locks like a camera bayonet, prints face down without supports, and can carry your focal length on the face, so you find the right lens in the case at a glance.
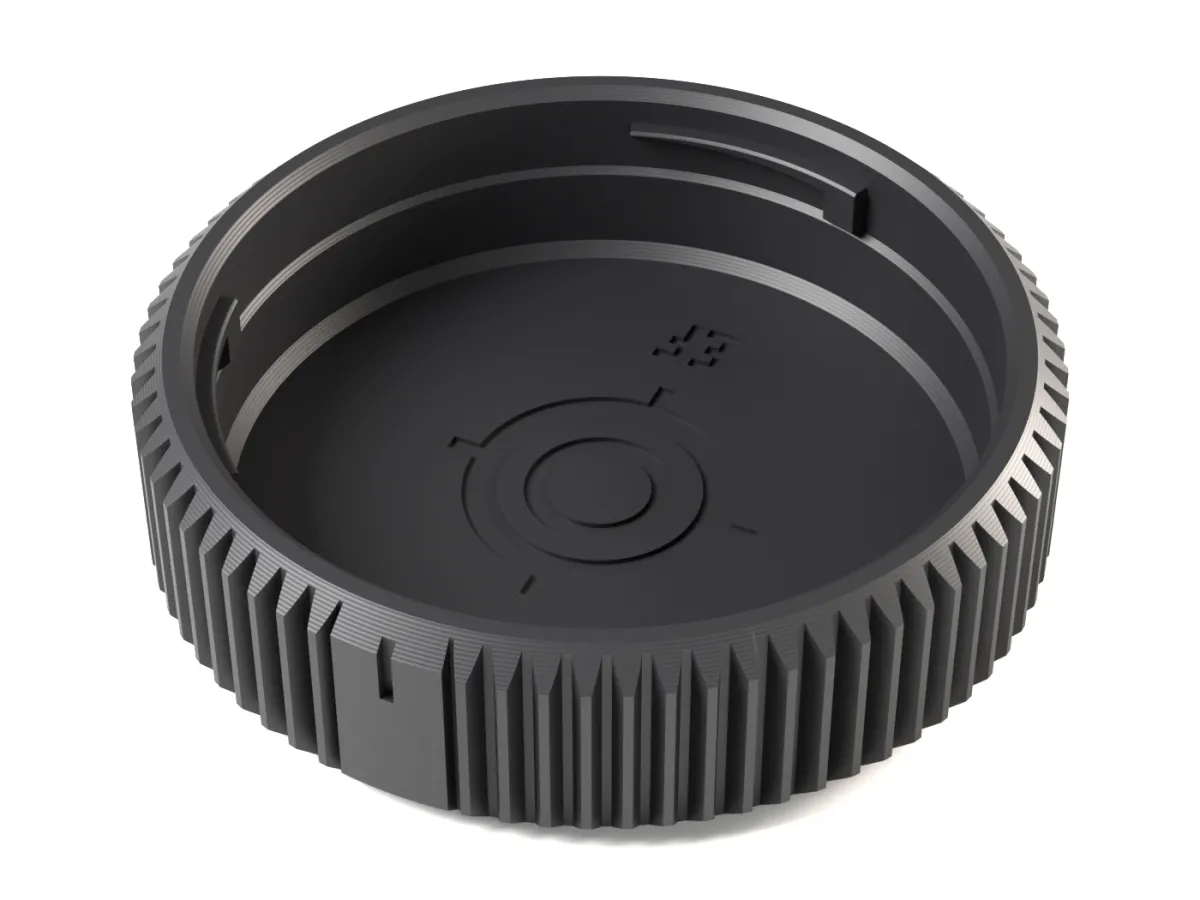
Locks like a bayonet
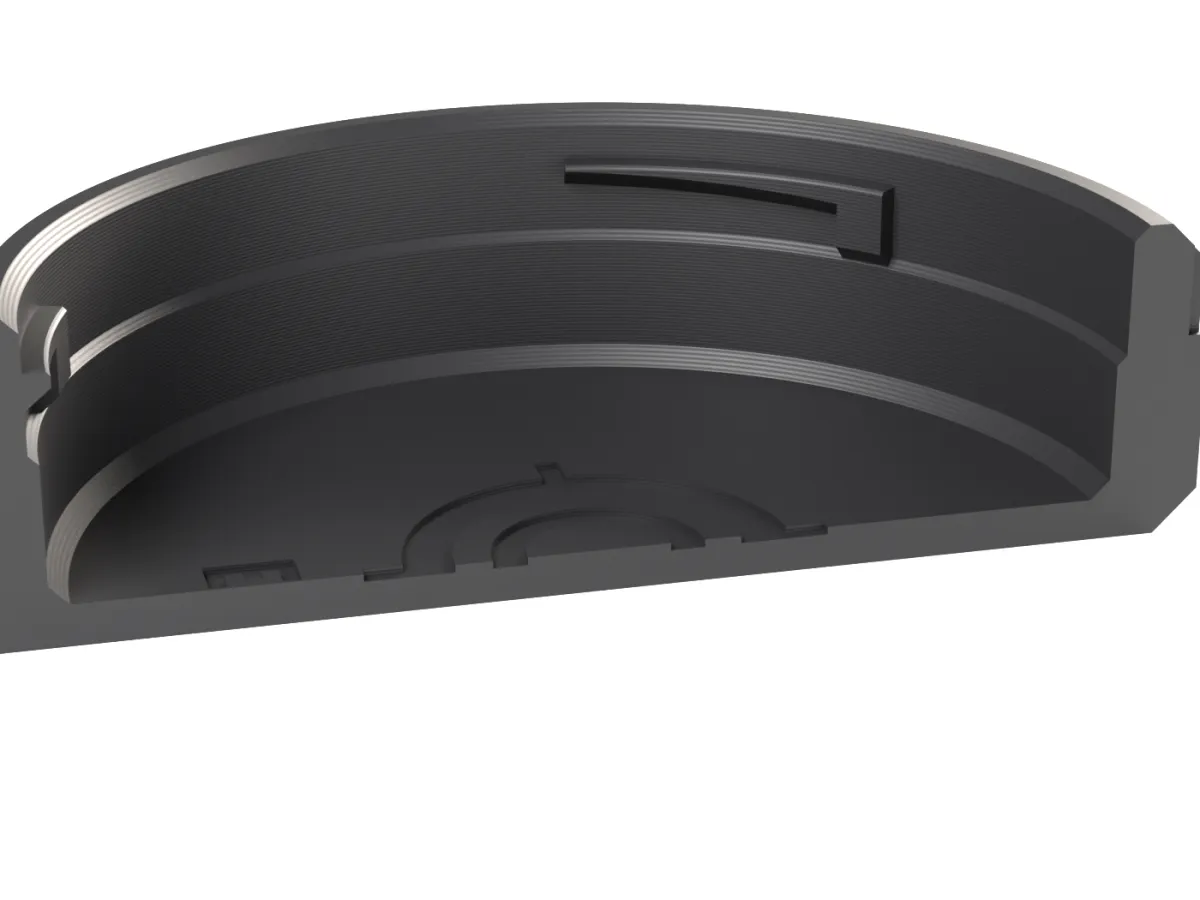
Three claws sit in the lens neck like a camera bayonet. Put the lugs into the gaps and turn clockwise (looking at the face): after 34° each lug runs onto a stop.
Self-tightening ramp
Each claw underside drops slightly along the turn, so the cap pulls itself tight on the lugs instead of depending on one exact dimension. Small differences between printers and lenses are taken up.
Made for FDM printing
Face down on the plate, no supports. Vertical teeth or flutes hide layer lines, a 45° foot chamfer hides elephant's foot, and the face gets the finish of your build plate.
Your focal length on the face
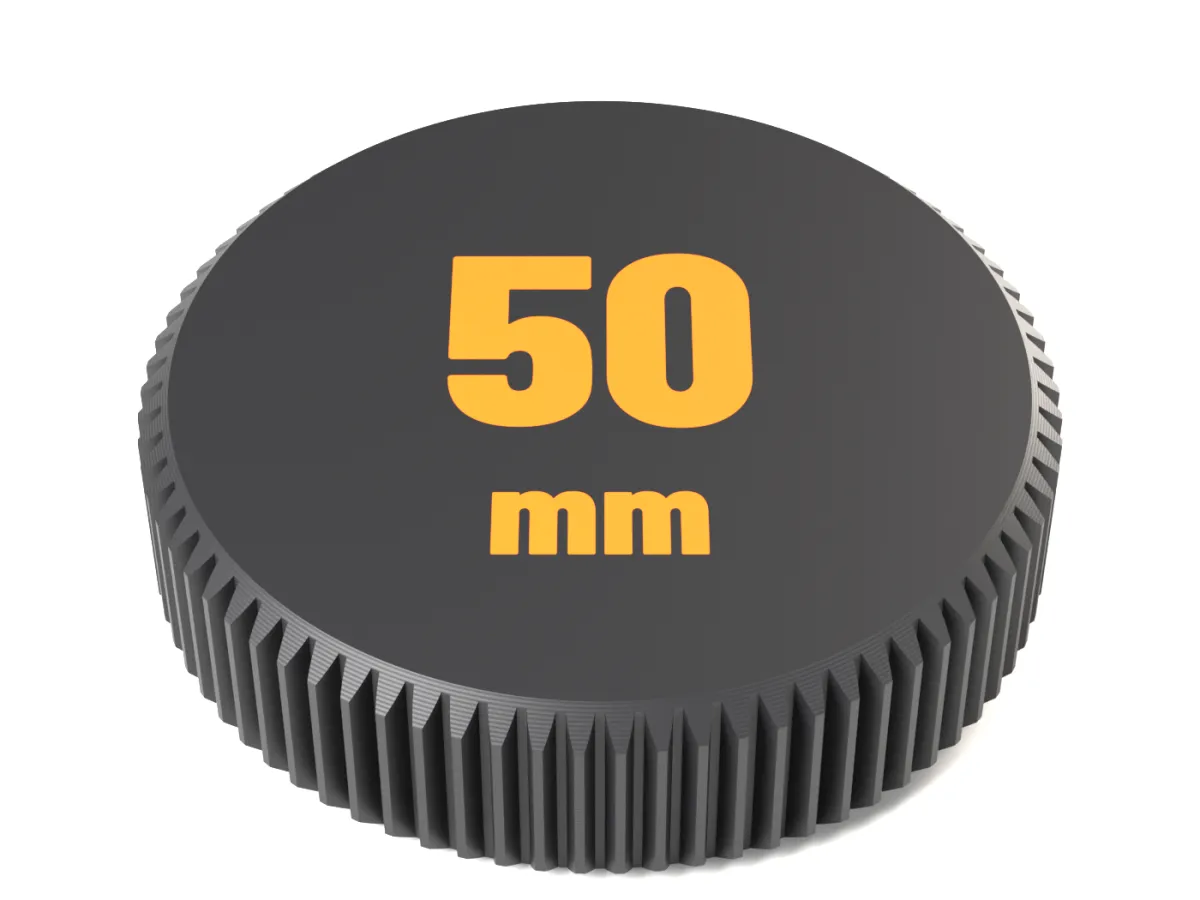
Optional: the focal length as a big flush inlay in a second colour (zooms such as 24-70 work too). Inside, the mount code and the Focus Rings logo are engraved in the floor.
Fits
- Canon EF lenses (full frame)
- Canon EF-S lenses, whose rear element sits deeper
- Third-party EF-mount lenses from Sigma, Tamron, Tokina, Samyang and others
| Mount | Canon EF / EF-S |
|---|---|
| Outside diameter | Ø63.2 mm |
| Height | 16.7 mm |
| Room for the rear element | 14 mm below the rim, enough for EF-S rear elements |
| Grip | Module 0.8 gear (77 teeth) or flutes |
| Print orientation | Face down, no supports |
| Print time (slicer estimate) | about 38 min, about 14 g PLA |
| Fit test ring | Free, about 15 min |
| Files | 3MF (body + face inlay as one object), aligned STLs, printing guide |
Print times are Bambu Studio estimates for an X1C with a 0.4 mm nozzle and 0.20 mm layers. Not every lens has been tested: print the free fit test ring first.
Print and fit
- Print the free fit test ring in the generator. It is the bayonet zone only and done in minutes.
- Put the lens lugs into the gaps and turn clockwise (looking at the face) until it stops. It should turn smoothly and sit firmly.
- Print the cap face down on the build plate, no supports. Two-colour faces: keep body and inlay as one object and give each part a filament.
Questions
Which lenses does the Canon EF rear cap fit?
Canon EF lenses (full frame); Canon EF-S lenses, whose rear element sits deeper; Third-party EF-mount lenses from Sigma, Tamron, Tokina, Samyang and others. Room for the rear element: 14 mm below the rim, enough for EF-S rear elements.
Has this Canon EF rear cap been tested on a lens?
The bayonet is measured from caps that fit real lenses, and every file passes a layer-by-layer support check. Printers and filaments differ, so print the free fit test ring first: it is the bayonet zone only, done in minutes, and shows on your lens whether the cap will turn on and lock.
Does it need supports?
No. The cap prints face down on the build plate. Every overhang is at most 50°, and the claws have sloped undersides that build up layer by layer.
Which filament should I use?
Rings without clamps and lens caps: PLA or PETG, 0.4 mm nozzle, 0.20 mm layers, your usual walls. PETG is a little tougher if the cap lives in a bag.
Why gear teeth on a rear cap?
They are the same module 0.8 teeth as our focus rings, so the cap matches your follow focus gear and grips well with gloves. The vertical teeth also hide layer lines. Prefer something smoother? Pick the flutes grip.
What does it cost?
The plain EF cap (gear or flutes, no lettering) is free: 3MF and STL, no account. The focal length face or an AirTag pocket make it a paid file, the same price as every other rear cap.