Rear lens caps · AirTag
Micro Four Thirds rear cap with an AirTag inside
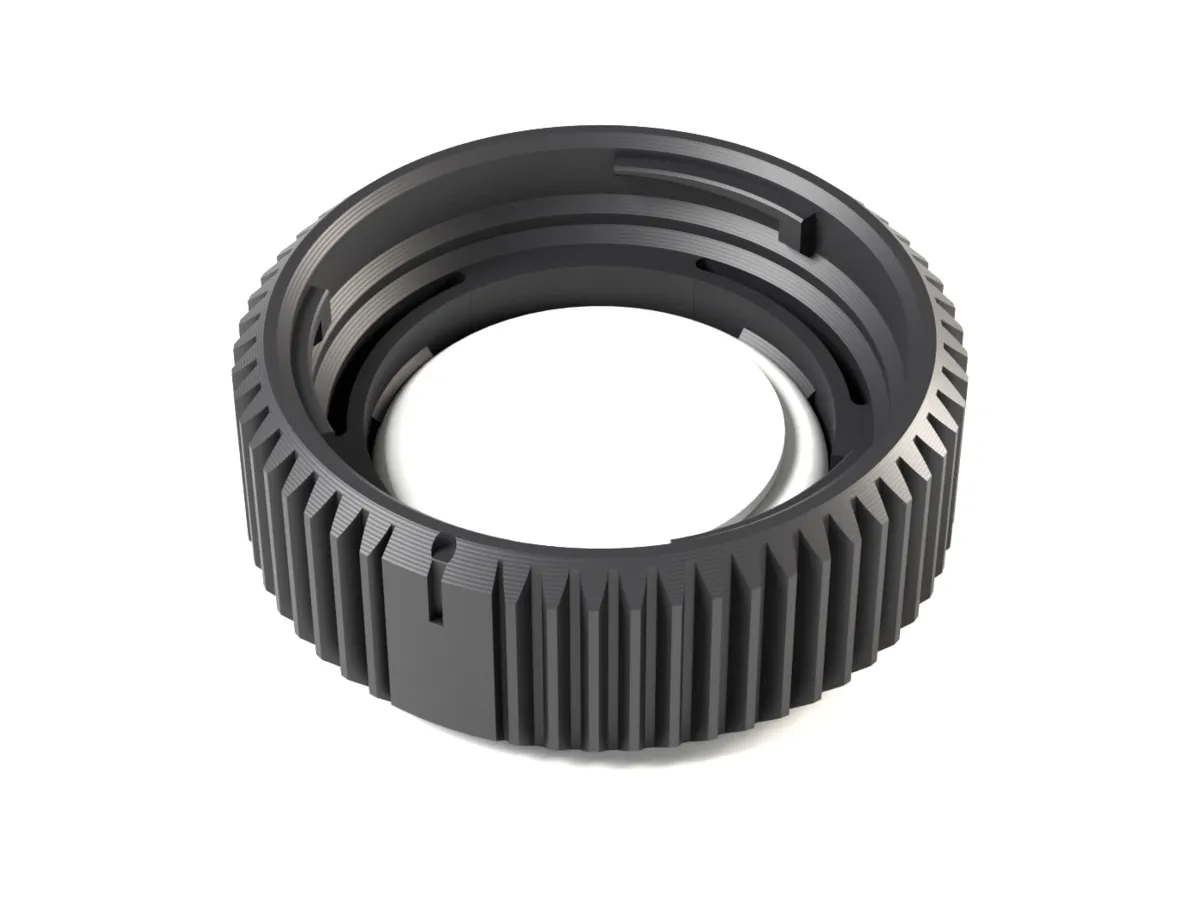
A Micro Four Thirds rear cap with an Apple AirTag hidden in its base. The tag snaps in from the inside and stays out of sight, so a lens left on set or in a rental case shows up in Find My.
One part, no screws
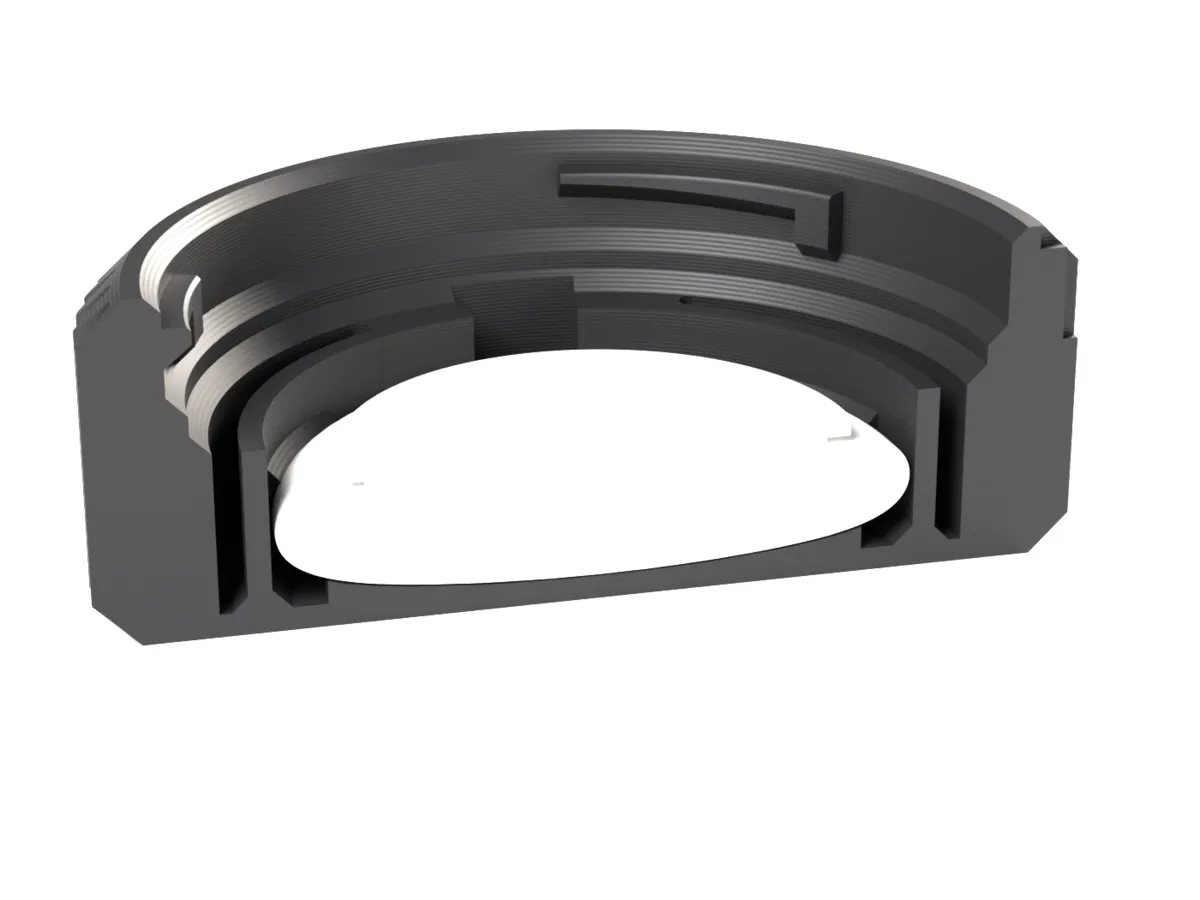
The pocket wall is one closed ring. Three segments of it, joined at both ends and backed by a slot, flex as the AirTag passes and then keep pressing on it, so it clicks in and cannot shift. A notch lets you lift it out again with a fingernail.
Signal side out
The white side of the AirTag faces outwards behind a 1.2 mm face; the steel cover faces the lens. The lens keeps its full rear room.
Prints without supports
Every part of the ring grows from the layer below, nothing is printed in mid-air. Face down on the plate like every Focus Rings cap.
Same bayonet
Three equal claws sit in the lens neck like on the original cap, so it goes on in any of three positions. Then turn clockwise (looking at the face) until the lugs run onto the stops. The AirTag adds 7.3 mm of height and leaves the lens room unchanged.
Fits
- Micro Four Thirds lenses from Olympus / OM System, Panasonic Lumix and Leica DG
- Third-party MFT lenses from Sigma, Laowa, Voigtländer, Meike, 7artisans and others
- Lenses with a longer rear: choose Deep in the generator
| Mount | Micro Four Thirds |
|---|---|
| Outside diameter | Ø49.6 mm |
| Height | 17.5 mm · Deep 22.0 mm |
| Room for the rear element | 7.5 mm below the rim; Deep: 12 mm |
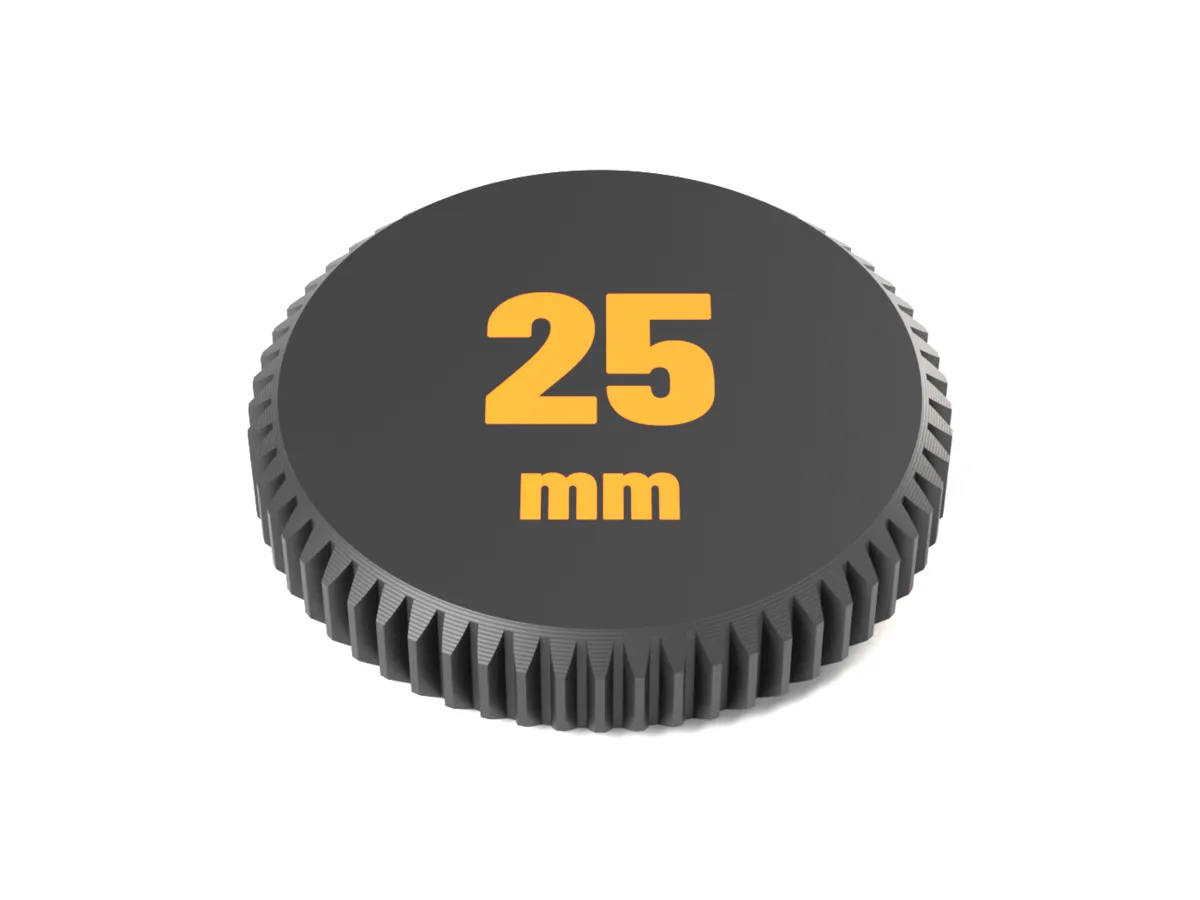
| Grip | Module 0.8 gear (60 teeth) or flutes |
| AirTag | Apple AirTag, snap-in from the inside, no tools |
| Print orientation | Face down, no supports |
| Print time (slicer estimate) | about 34 min, about 11 g |
| Fit test ring | Free, about 11 min |
| Files | 3MF (body + face inlay as one object), aligned STLs, printing guide |
Print times are Bambu Studio estimates for an X1C with a 0.4 mm nozzle and 0.20 mm layers. Not every lens has been tested: print the free fit test ring first.
Print and fit
- Print the free fit test ring in the generator. It is the bayonet zone only and done in minutes.
- Put the lens lugs into the gaps and turn clockwise (looking at the face) until it stops. It should turn smoothly and sit firmly.
- Print the cap face down on the build plate, no supports. Two-colour faces: keep body and inlay as one object and give each part a filament.
- Press the AirTag in from the inside, white side towards the face, until the three tabs click.
Questions
How is the AirTag held without screws or glue?
By a closed snap ring: three segments flex slightly as the AirTag passes, then their nubs keep pressing on it above its widest point. If the click is too stiff or too loose on your printer, write to us and we send a different nub size.
Does the AirTag still work inside the cap?
AirTags work through plastic, and the white side faces outwards behind a thin face. Range depends on what is around the lens case, as with any AirTag.
Which lenses does the Micro Four Thirds AirTag cap fit?
Micro Four Thirds lenses from Olympus / OM System, Panasonic Lumix and Leica DG; Third-party MFT lenses from Sigma, Laowa, Voigtländer, Meike, 7artisans and others; Lenses with a longer rear: choose Deep in the generator. Room for the rear element: 7.5 mm below the rim; Deep: 12 mm.
Has this Micro Four Thirds rear cap been tested on a lens?
Not yet on a Micro Four Thirds lens. The bayonet is measured from parts that fit real lenses and cameras, the lock is set just past the measured lug face like on our print-tested mounts, and every file passes a layer-by-layer support check. Print the free fit test ring first: it is the bayonet zone only, done in minutes, and shows on your lens whether the cap will turn on and lock.
Does it need supports?
No. The cap prints face down on the build plate. Every overhang is at most 50°, and the claws have sloped undersides that build up layer by layer.
Which filament should I use?
Rings without clamps and lens caps: PLA or PETG, 0.4 mm nozzle, 0.20 mm layers, your usual walls. PETG is a little tougher if the cap lives in a bag.
Why gear teeth on a rear cap?
They are the same module 0.8 teeth as our focus rings, so the cap matches your follow focus gear and grips well with gloves. The vertical teeth also hide layer lines. Prefer something smoother? Pick the flutes grip.
Other rear caps
- Micro Four Thirds rear lens cap to 3D print
- Canon EF rear cap with an AirTag inside
- Canon RF rear cap with an AirTag inside
- Sony E rear cap with an AirTag inside
- Nikon Z rear cap with an AirTag inside
- L-Mount rear cap with an AirTag inside
- Leica M rear cap with an AirTag inside
- ARRI PL rear cap with an AirTag inside