Body caps · STL / 3MF
ARRI PL body cap to 3D print
A port cap for ARRI PL cameras that you print yourself. The camera's locking ring clamps it like a lens, it prints face down with break-off supports built in, and it can carry a label such as A-CAM, your logo or the mount code on the face.
Not print-tested on an ARRI PL camera yet. Your files include a fit test ring: print it first (about 11 min), it shows on your camera whether the locking ring closes and the cap sits firmly. Open the generator
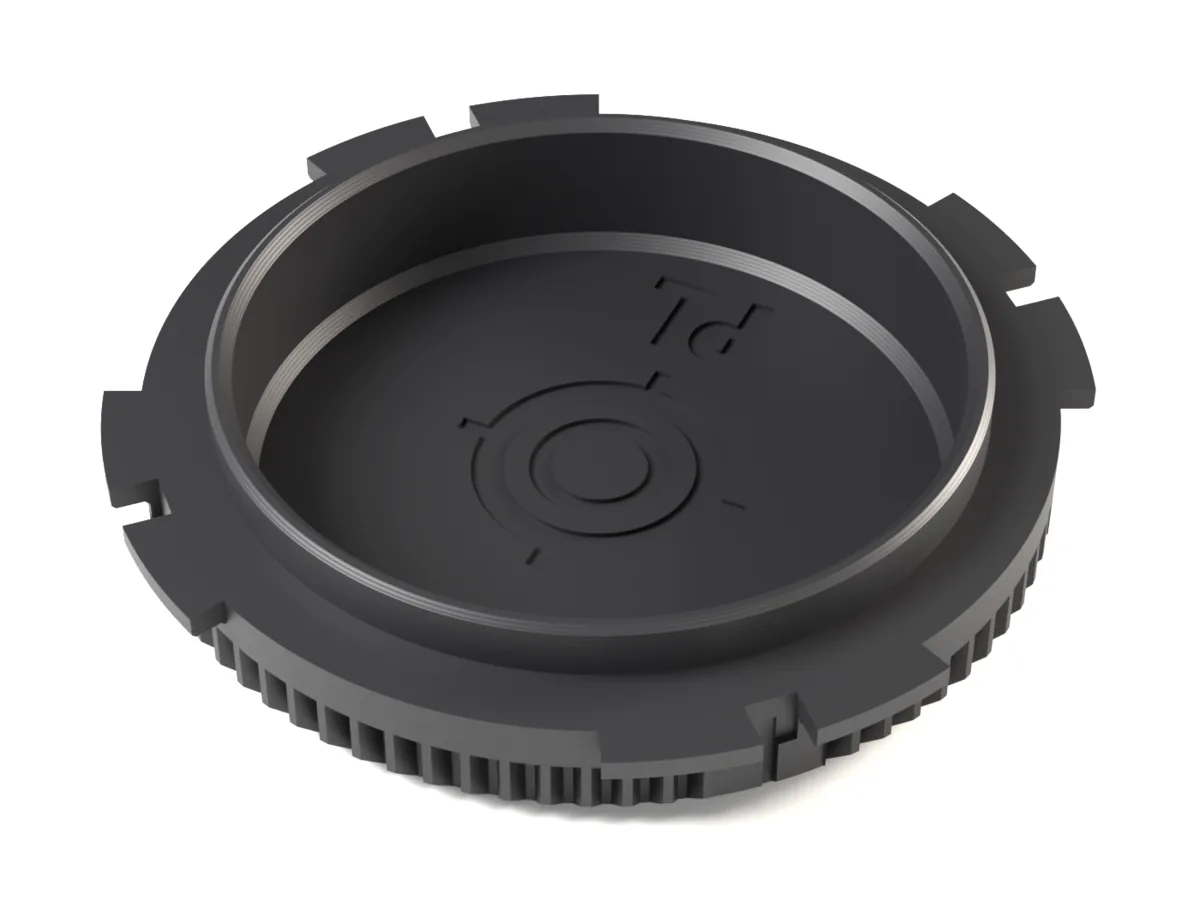
A port cap for the PL locking ring
The cap does not turn. Open the camera's PL locking ring, set the cap in with one of the four notches in its flanges on the locating pin and close the ring: it clamps the four flanges like a lens. That gives four positions; the notch next to the grooved grip mark keeps the face upright.
Measured, and no deeper than a lens
The flanges and the register are measured from two PL port caps and from our PL rear cap, which fits real PL lenses. The flanges are 1.8 mm thick, a little under a lens's 2.0 mm, so the locking ring can close over them; the fit test ring in your files checks that on your camera. Nothing reaches deeper into the camera than a lens's own mount: the register ends 4 mm behind the mount face.
Break-off supports built in
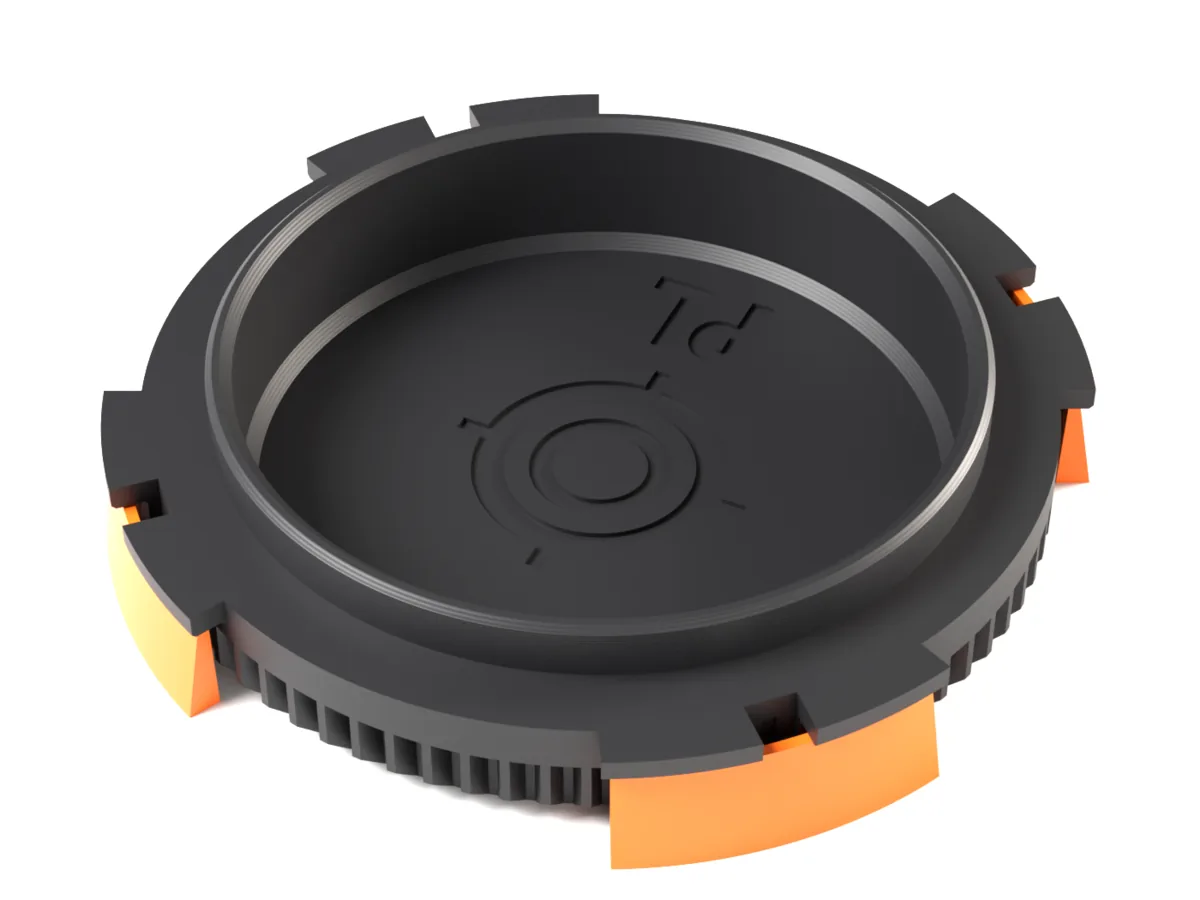
The flanges would start in mid-air, so the file brings its own supports: four thin arcs standing on the plate, one 0.2 mm layer below the flanges and touching nothing else. Keep slicer supports off, snap the arcs off after printing and clean the underside of the flanges, where the locking ring clamps.
Your label, logo or the mount code
Optional: a short label of up to 7 characters (A-CAM, FX6, B), your own logo or the mount code in big letters, as a flush inlay in a second colour or engraved 0.5 mm into the face for one filament (tip: one wall on the first layer keeps it crisp). The mount code can also sit small above a label or logo. Inside, the mount code and the Focus Rings logo are engraved in the floor.
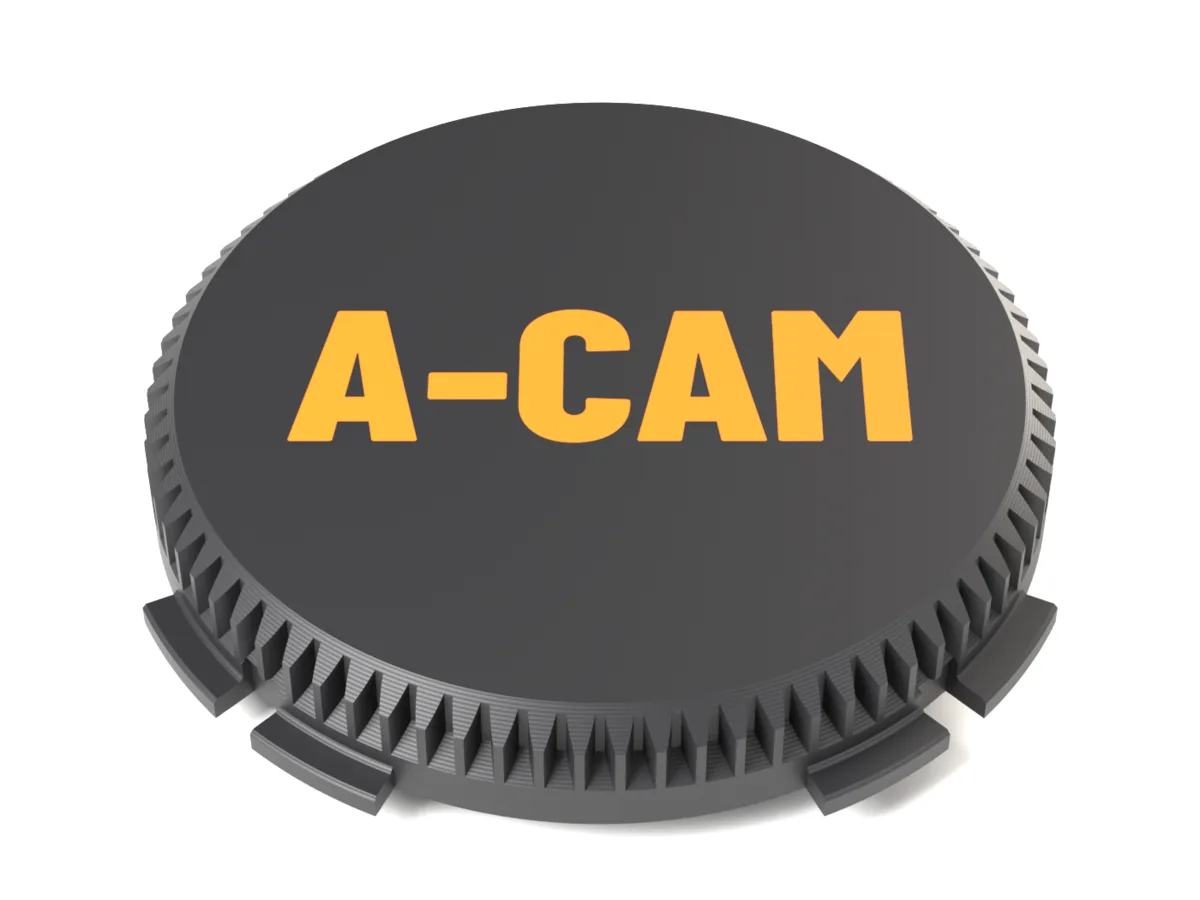
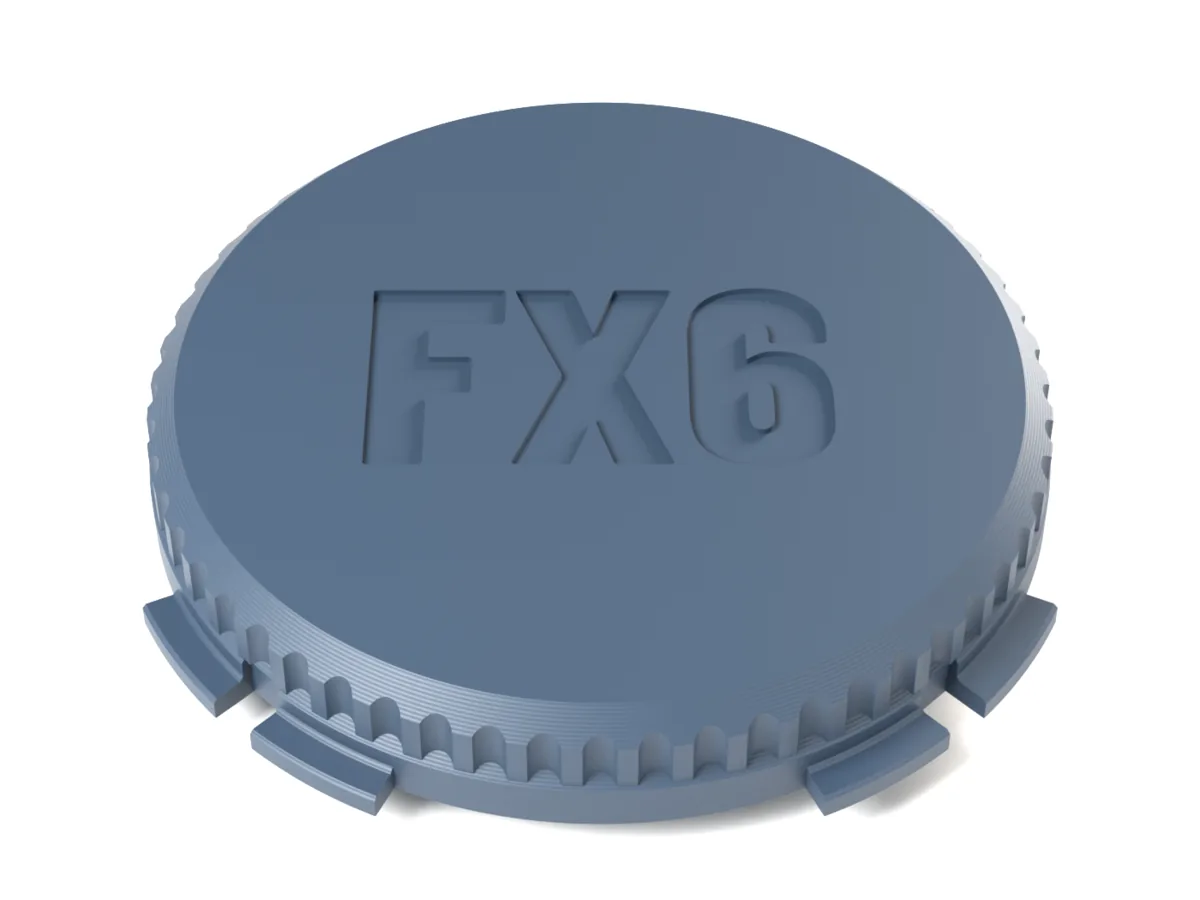
Fits
- PL-mount cinema cameras from ARRI, Sony (VENICE), RED, Blackmagic Design and others
- PL adapters with a locking ring for mirrorless cameras, e.g. PL to Sony E, Canon RF, L-Mount or MFT
| Mount | ARRI PL |
|---|---|
| Outside diameter | Ø68.4 mm over the flanges, Ø63.2 mm grip |
| Height | 13.4 mm |
| Depth in the camera | 4 mm behind the mount face |
| Holds by | Four flanges under the PL locking ring, four notch positions on the locating pin |
| Grip | Module 0.8 gear (77 teeth) or flutes |
| Print orientation | Face down, break-off supports built in (slicer supports off) |
| Print time (slicer estimate) | about 28 min, about 14 g PLA |
| Fit test ring | Included with paid files, about 11 min |
| Files | 3MF (body + face inlay as one object), aligned STLs, printing guide |
Print times are Bambu Studio estimates for an X1C with a 0.4 mm nozzle and 0.20 mm layers. Not every camera has been tested: print the fit test ring from your files first and try it on your camera.
Print and fit
- Check the fit first: your files include a fit test ring, the flange zone only, done in about 11 min. Print it before the cap.
- Open the camera's PL locking ring, set the cap or test ring in with a notch on the locating pin and close the locking ring. It should close fully and hold it without play.
- Print the cap face down with slicer supports off: the four arcs in the file carry the flanges. Snap them off and clean the underside of the flanges. Two-colour faces: keep body and inlay as one object and give each part a filament.
- Clean the inside before the first use: remove strings and crumbs, rinse, let it dry and blow it out. It faces the sensor.
Questions
Which cameras does the ARRI PL body cap fit?
PL-mount cinema cameras from ARRI, Sony (VENICE), RED, Blackmagic Design and others; PL adapters with a locking ring for mirrorless cameras, e.g. PL to Sony E, Canon RF, L-Mount or MFT.
Has this ARRI PL body cap been tested on a camera?
Not yet. Its flanges are measured from two PL port caps and our PL rear cap that fit real cameras and lenses, and every file is checked layer by layer for printability, but we have not fitted this cap on an ARRI PL camera ourselves yet. Print the fit test ring from your files first: it is done in about 11 min and shows on your camera whether the locking ring closes and the cap sits firmly. Too tight or too loose? Tell us: the flange thickness is adjustable.
Is it safe for the camera's sensor?
It reaches no deeper into the camera than a lens's own mount: 4 mm behind the mount face. The inside faces the sensor, so remove every string and crumb, rinse the cap, let it dry and blow it out before the first use. Never use a cap with cracked flanges.
Does it need supports?
Not from your slicer: keep slicer supports off. The file brings four break-off arcs under the flanges, one 0.2 mm layer below them and touching nothing else. Pull them off after printing and clean the underside of the flanges, where the locking ring clamps.
Which filament should I use?
Rings without clamps and lens caps: PLA or PETG, 0.4 mm nozzle, 0.20 mm layers, your usual walls. PETG is a little tougher if the cap lives in a bag.
Why gear teeth on a body cap?
They are the same module 0.8 teeth as our focus rings: they grip well with gloves and hide layer lines. Prefer something smoother? Pick the flutes grip.
Does it fit ARRI LPL?
No. LPL is a larger mount with its own bayonet; this cap is for the PL mount and PL adapters.
What does it cost?
One price per cap file, blank or with a label, your logo, the mount code or the AirTag pocket, whichever you combine. Every file comes with a fit test ring for your camera.